"====================================================================
" Start vundle
"====================================================================
set nocompatible " be iMproved, required
filetype off " required
" set the runtime path to include Vundle and initialize
set rtp+=~/.vim/bundle/Vundle.vim
call vundle#begin()
" alternatively, pass a path where Vundle should install plugins
"call vundle#begin('~/some/path/here')
" let Vundle manage Vundle, required
Plugin 'VundleVim/Vundle.vim'
"===============================================================
" Write your plugins here
"===============================================================
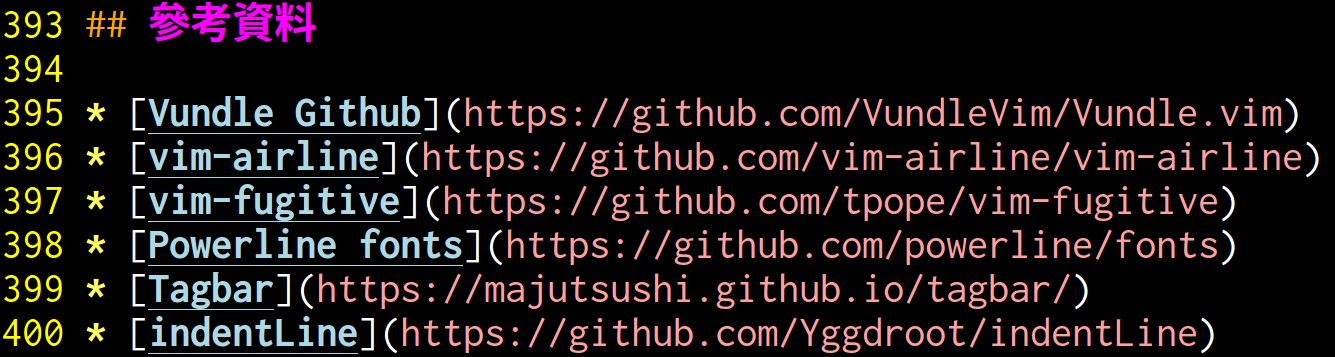
Plugin 'Yggdroot/indentLine'
"====================================================================
" Run vundle
"====================================================================
" All of your Plugins must be added before the following line
call vundle#end() " required
filetype plugin indent on " required
" To ignore plugin indent changes, instead use:
"filetype plugin on
"
" Brief help
" :PluginList - lists configured plugins
" :PluginInstall - installs plugins; append `!` to update or just :PluginUpdate
" :PluginSearch foo - searches for foo; append `!` to refresh local cache
" :PluginClean - confirms removal of unused plugins; append `!` to auto-approve removal
"
" see :h vundle for more details or wiki for FAQ
" Put your non-Plugin stuff after this line
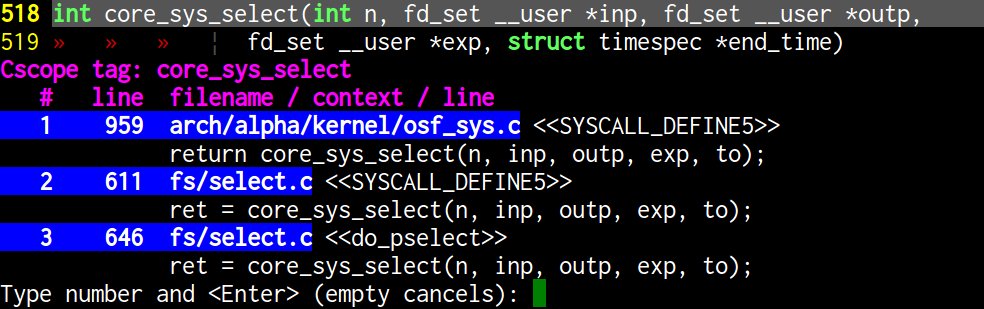
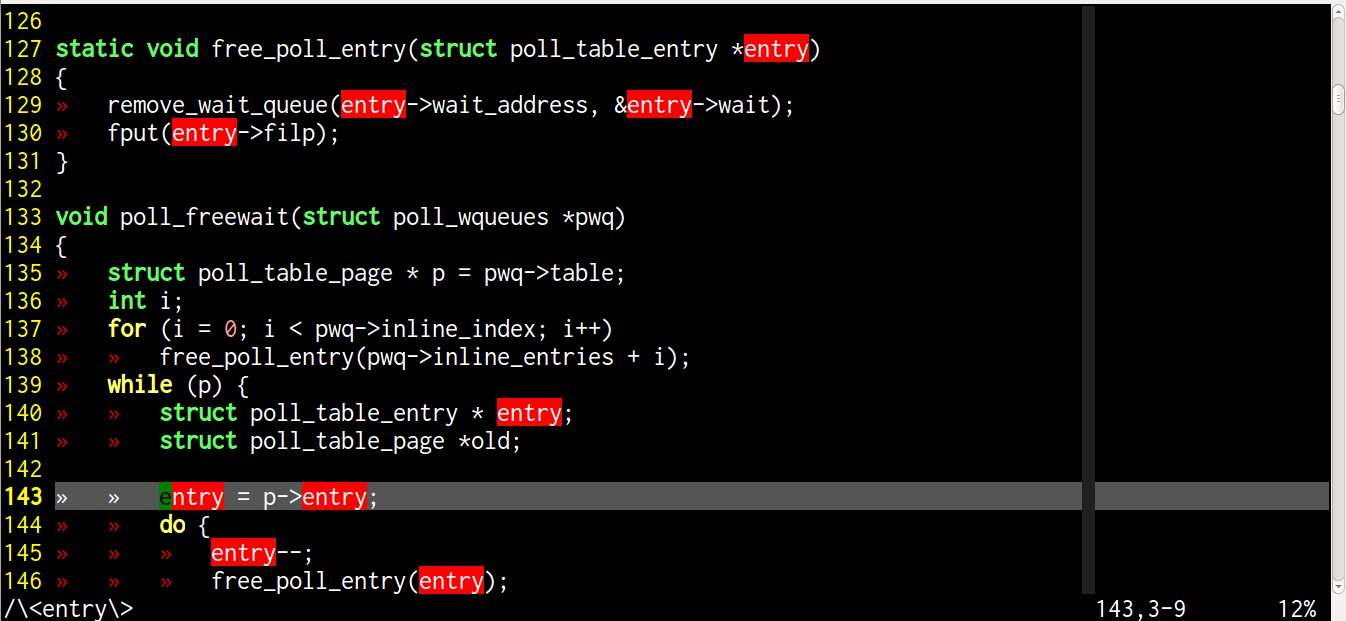
find : Query for a pattern (Usage: find c|d|e|f|g|i|s|t name)
c: Find functions calling this function
d: Find functions called by this function
e: Find this egrep pattern
f: Find this file
g: Find this definition
i: Find files #including this file
s: Find this C symbol
t: Find this text string
"====================================================================
" Trinity Settings
"====================================================================
" Open and close all the three plugins on the same time
nmap <F8> :TrinityToggleAll<CR>
" Open and close the Source Explorer separately
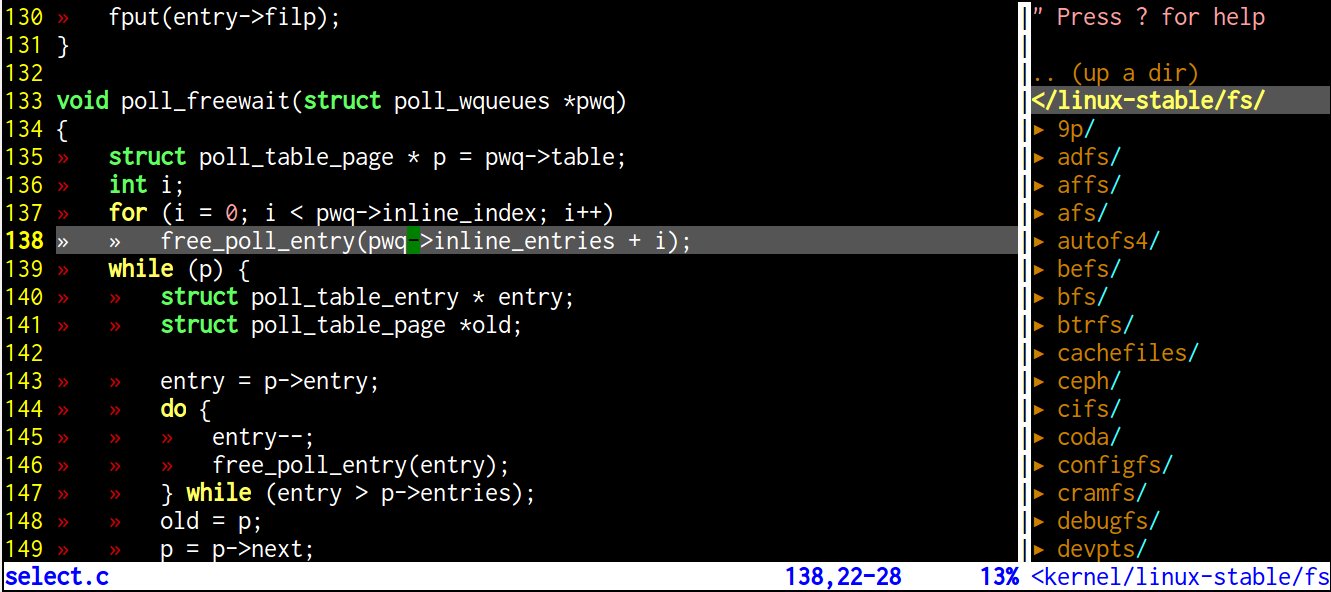
nmap <F9> :TrinityToggleSourceExplorer<CR>
" Open and close the Taglist separately
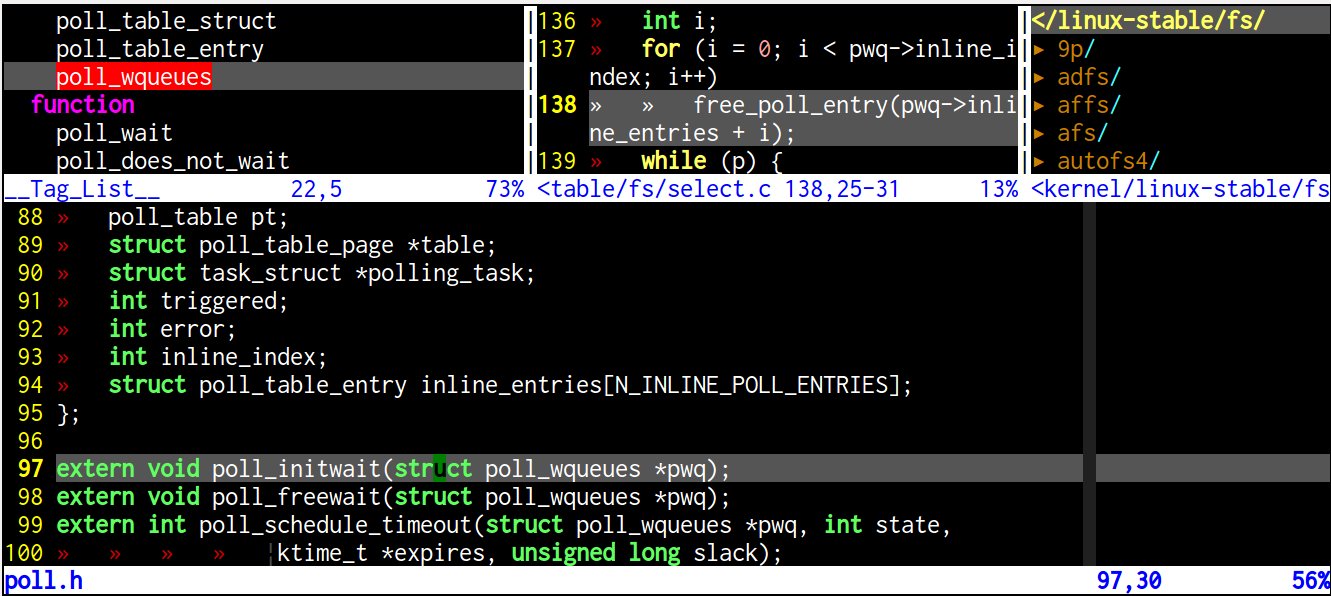
nmap <F10> :TrinityToggleTagList<CR>
" Open and close the NERD Tree separately
nmap <F11> :TrinityToggleNERDTree<CR>
"====================================================================
" Tagbar Settings
"====================================================================
" Open and close the tagbar separately
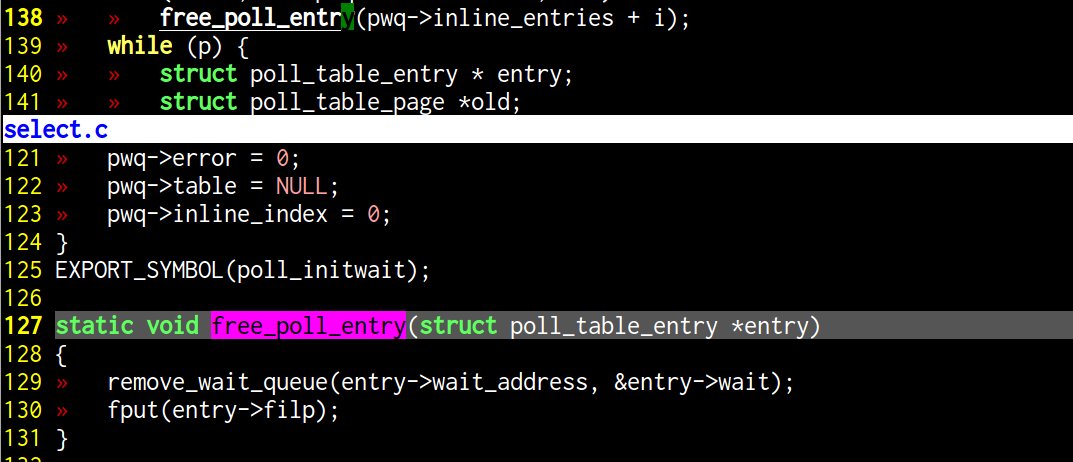
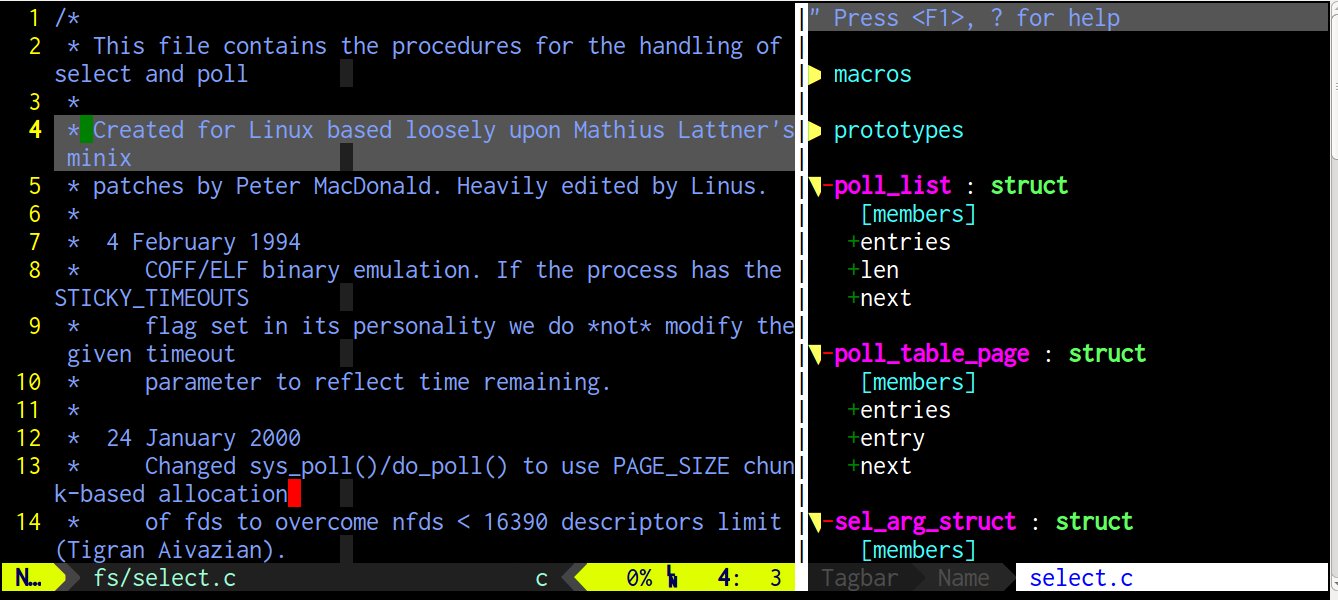
nmap <F7> :TagbarToggle<CR>
"====================================================================
" Start vundle
"====================================================================
set nocompatible " be iMproved, required
filetype off " required
" set the runtime path to include Vundle and initialize
set rtp+=~/.vim/bundle/Vundle.vim
call vundle#begin()
" alternatively, pass a path where Vundle should install plugins
"call vundle#begin('~/some/path/here')
" let Vundle manage Vundle, required
Plugin 'VundleVim/Vundle.vim'
"===============================================================
" Write your plugins here
"===============================================================
" Layouts
Plugin 'Yggdroot/indentLine'
Plugin 'ntpeters/vim-better-whitespace'
" Markdown
Plugin 'vim-pandoc/vim-pandoc-syntax'
" Python related
Plugin 'python-mode/python-mode'
Plugin 'vim-scripts/indentpython.vim'
Plugin 'vim-syntastic/syntastic'
Plugin 'vim-scripts/python_match.vim'
Plugin 'vim-scripts/python.vim'
" Misc tools
Plugin 'kien/ctrlp.vim'
Plugin 'vim-airline/vim-airline'
Plugin 'tpope/vim-fugitive'
Plugin 'Valloric/YouCompleteMe'
Plugin 'chazy/cscope_maps'
Plugin 'vim-scripts/taglist.vim'
Plugin 'scrooloose/nerdtree'
Plugin 'wesleyche/SrcExpl'
Plugin 'wesleyche/Trinity'
Plugin 'majutsushi/tagbar'
"====================================================================
" Run vundle
"====================================================================
" All of your Plugins must be added before the following line
call vundle#end() " required
filetype plugin indent on " required
" To ignore plugin indent changes, instead use:
"filetype plugin on
"
" Brief help
" :PluginList - lists configured plugins
" :PluginInstall - installs plugins; append `!` to update or just :PluginUpdate
" :PluginSearch foo - searches for foo; append `!` to refresh local cache
" :PluginClean - confirms removal of unused plugins; append `!` to auto-approve removal
"
" see :h vundle for more details or wiki for FAQ
" Put your non-Plugin stuff after this line
"====================================================================
" Tagbar Settings
"====================================================================
" Open and close the tagbar separately
nmap <F7> :TagbarToggle<CR>
"====================================================================
" Trinity Settings
"====================================================================
" Open and close all the three plugins on the same time
nmap <F8> :TrinityToggleAll<CR>
" Open and close the Source Explorer separately
nmap <F9> :TrinityToggleSourceExplorer<CR>
" Open and close the Taglist separately
nmap <F10> :TrinityToggleTagList<CR>
" Open and close the NERD Tree separately
nmap <F11> :TrinityToggleNERDTree<CR>
"====================================================================
" Airline settings
"====================================================================
let g:airline_powerline_fonts = 1
set laststatus=2
"====================================================================
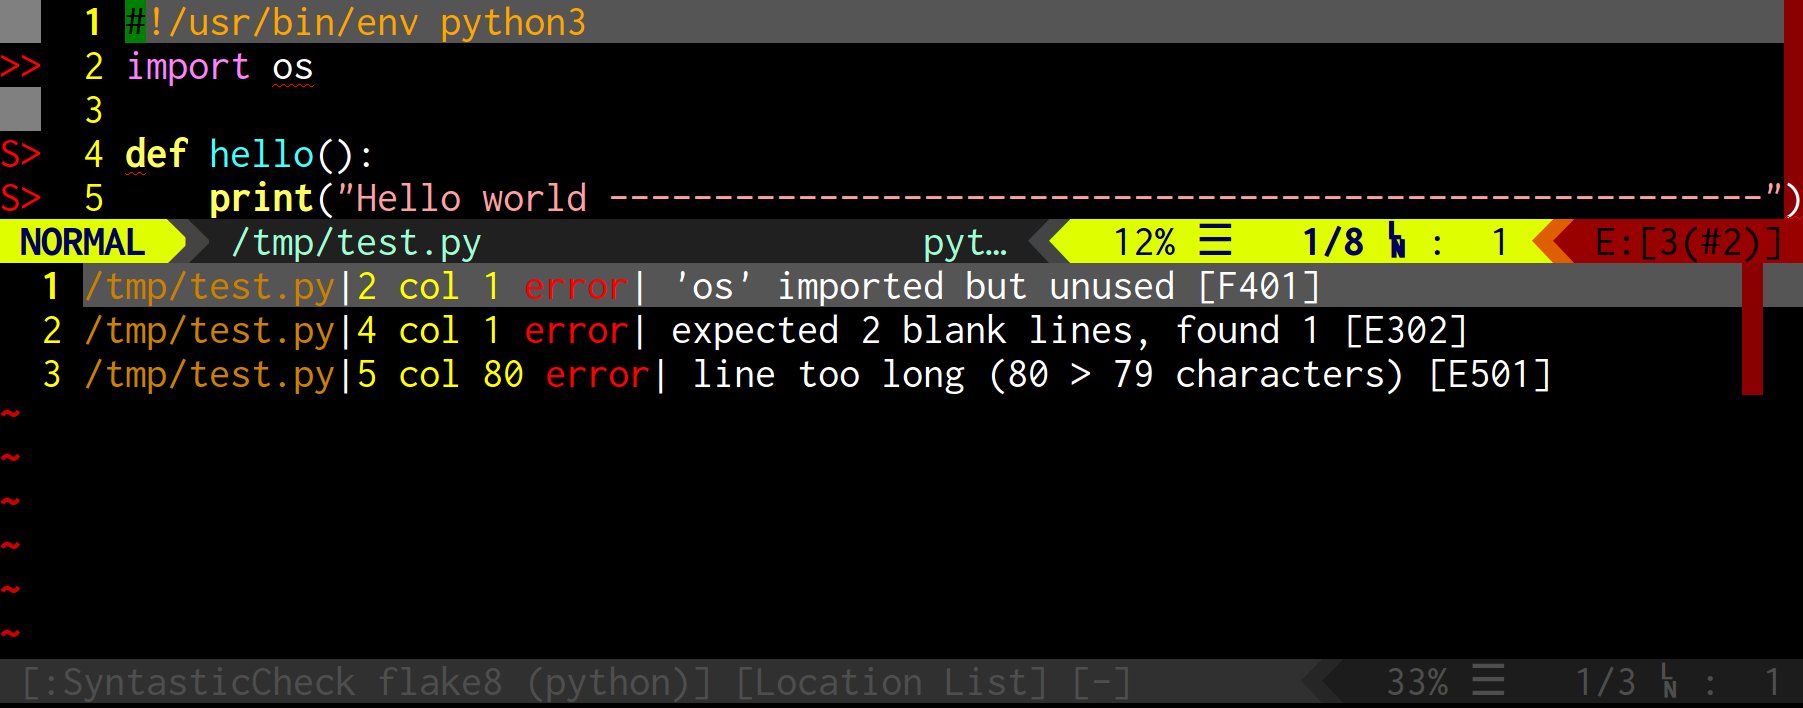
" syntastic settings
"====================================================================
set statusline+=%#warningmsg#
set statusline+=%{SyntasticStatuslineFlag()}
set statusline+=%*
let g:loaded_syntastic_c_checker = 1
let g:loaded_syntastic_cpp_checker = 1
let g:syntastic_always_populate_loc_list = 1
let g:syntastic_auto_loc_list = 1
let g:syntastic_check_on_open = 1
let g:syntastic_check_on_wq = 0
autocmd VimEnter * SyntasticToggleMode " disable syntastic by default
"====================================================================
" pymode settings
"====================================================================
let g:pymode_lint = 1 " Prefer to use syntastic to check lint
let g:pymode_folding = 0 " Unfold all
"====================================================================
" Editor and display Settings
"====================================================================
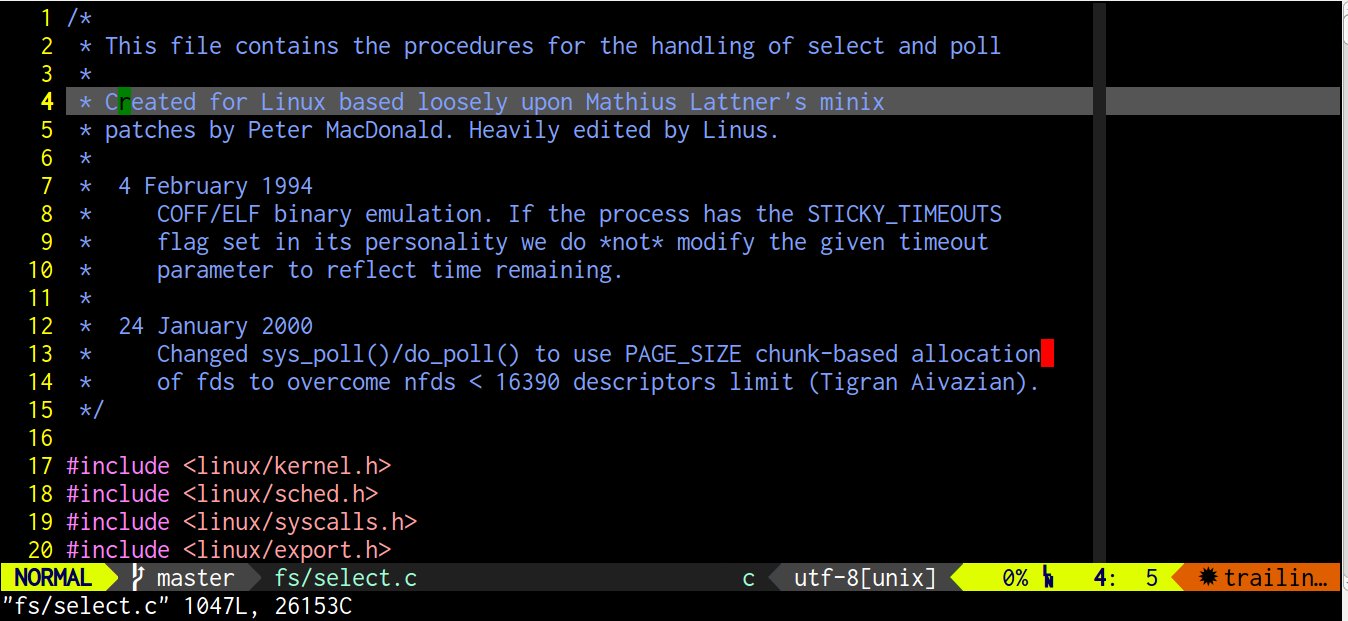
colorscheme koehler " Color for gvim
set hlsearch " Highlight search
set guifont=Inconsolata\ for\ Powerline\ 32 " Font
set cursorline " Hight background at current cursor line
set nu " Display line numbers
" Set background color at colum 80
set colorcolumn=80
highlight ColorColumn guibg=#202020
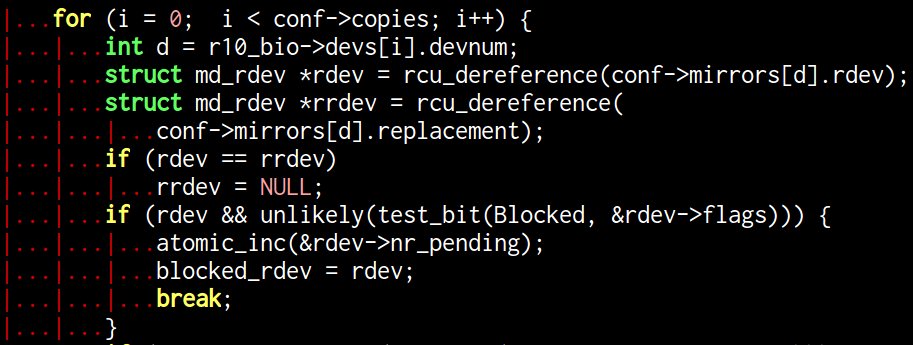
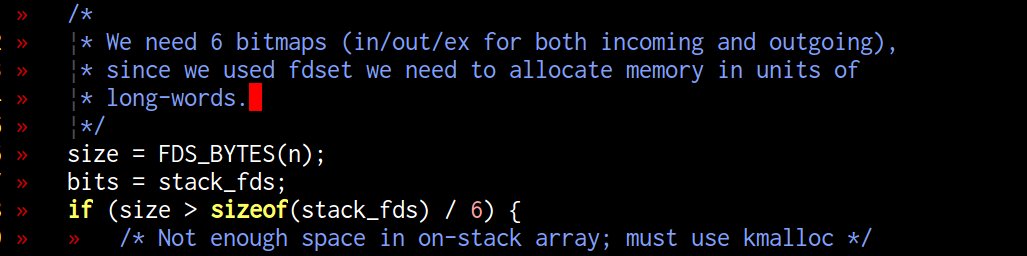
" Show tabs
set listchars=tab:\|.
set list
" Ensure syntax is on
syntax on
"====================================================================
" Indent Settings
"====================================================================
" Tabs
set ts=4
set expandtab
set shiftwidth=4
" visual indent shift
vnoremap < <gv
vnoremap > >gv
"====================================================================
" MISC Settings
"====================================================================
" Shared unamed regitered with primary selection
set clipboard+=unnamed
" uft-8 encoding: https://stackoverflow.com/questions/16507777/set-encoding-and-fileencoding-to-utf-8-in-vim
set encoding=utf-8
set fileencoding=utf-8
"====================================================================
" Python Settings
"====================================================================
au BufNewFile,BufRead *.py
\ set tabstop=4 |
\ set softtabstop=4 |
\ set shiftwidth=4 |
\ set textwidth=79 |
\ set expandtab |
\ set autoindent |
\ set fileformat=unix
let python_highlight_all=1
"====================================================================
" pandoc Settings
"====================================================================
" Disable autoconeal for markdown
augroup pandoc_syntax
au! BufNewFile,BufFilePre,BufRead *.md set filetype=markdown.pandoc
au! BufNewFile,BufFilePre,BufRead *.markdown set filetype=markdown.pandoc
augroup END
let g:pandoc#syntax#conceal#use = 0
"====================================================================
" YCM Settings
"====================================================================
let g:ycm_global_ycm_extra_conf = '~/.vim/bundle/YouCompleteMe/.ycm_extra_conf.py'
let g:ycm_show_diagnostics_ui = 0
"====================================================================
" Console tab setting:
" Ref https://superuser.com/questions/410982/in-vim-how-can-i-quickly-switch-between-tabs
"====================================================================
nnoremap <S-Left> :tabprevious<CR>
nnoremap <S-Right> :tabnext<CR>